• Home
  • About
  • contact
  • kitundu.com
Kitundu Studio
  • Home
  • About
  • contact
  • kitundu.com

Facet King - from start to finish

6, 8, and 12/4 walnut boards
a pile of possibility
making the first cut
cutting and jointing the leg stock
glueing up the legs
glueing up the legs
three parts for each front leg
making the initial cuts and rabbets
walnut jointer shavings
crotch figure on one of the rails
used the band saw to cut the facets...
smoothed the cuts on the jointer
front legs complete with inserts
inter-planetary crotch figure
setting the foot rail in the front legs for the first time
holes drilled in the legs for assembly bolts
front and back legs complete
test fitting the frame for the first time
the frame is amazingly strong
the faceted corners lined up well
side rail meeting the foot rail at the leg
central supports for the mattress slats
interior view of the side and head rail assembly
interior view of the side and foot rail assembly
rails and legs ready for finishing
legs before finishing
applying finish to a bed rail
the third coat of arm-r-seal drying
starting the headboard
using a circular saw to make the long cuts
i finished the cuts with a hand saw...
and cleaned up with planes and chisels
walnut shavings!
walnut shavings!
testing the headboard panel fit
glueing up the headboard in 2 parts
the two slotted supports offer height adjustability
coming together nicely
ready for finish
ready for finish
applying wipe-on poly to the headboard
the facets were all made with hand planes
finally assembled onsite!
my daughter consults with the client
morning light reveals nice details
the foot of the bed
the foot of the bed
my daughter double checking my handiwork
details of the faceted headboard
the facets are only 1/4" deep but catch the light
a view from the side
the asymmetrical style is reflected in the rails
a closer look at the grain and facets
walnut is a lovely material to work with
one more view of the headboard
the crotch figured section is one of my favorite parts
from sketch to reality
6, 8, and 12/4 walnut boards a pile of possibility making the first cut cutting and jointing the leg stock glueing up the legs three parts for each front leg making the initial cuts and rabbets walnut jointer shavings crotch figure on one of the rails used the band saw to cut the facets... smoothed the cuts on the jointer front legs complete with inserts inter-planetary crotch figure setting the foot rail in the front legs for the first time holes drilled in the legs for assembly bolts front and back legs complete test fitting the frame for the first time the frame is amazingly strong the faceted corners lined up well side rail meeting the foot rail at the leg central supports for the mattress slats interior view of the side and head rail assembly interior view of the side and foot rail assembly rails and legs ready for finishing legs before finishing applying finish to a bed rail the third coat of arm-r-seal drying starting the headboard using a circular saw to make the long cuts i finished the cuts with a hand saw... and cleaned up with planes and chisels walnut shavings! testing the headboard panel fit glueing up the headboard in 2 parts the two slotted supports offer height adjustability coming together nicely ready for finish applying wipe-on poly to the headboard the facets were all made with hand planes finally assembled onsite! my daughter consults with the client morning light reveals nice details the foot of the bed my daughter double checking my handiwork details of the faceted headboard the facets are only 1/4" deep but catch the light a view from the side the asymmetrical style is reflected in the rails a closer look at the grain and facets walnut is a lovely material to work with one more view of the headboard the crotch figured section is one of my favorite parts from sketch to reality

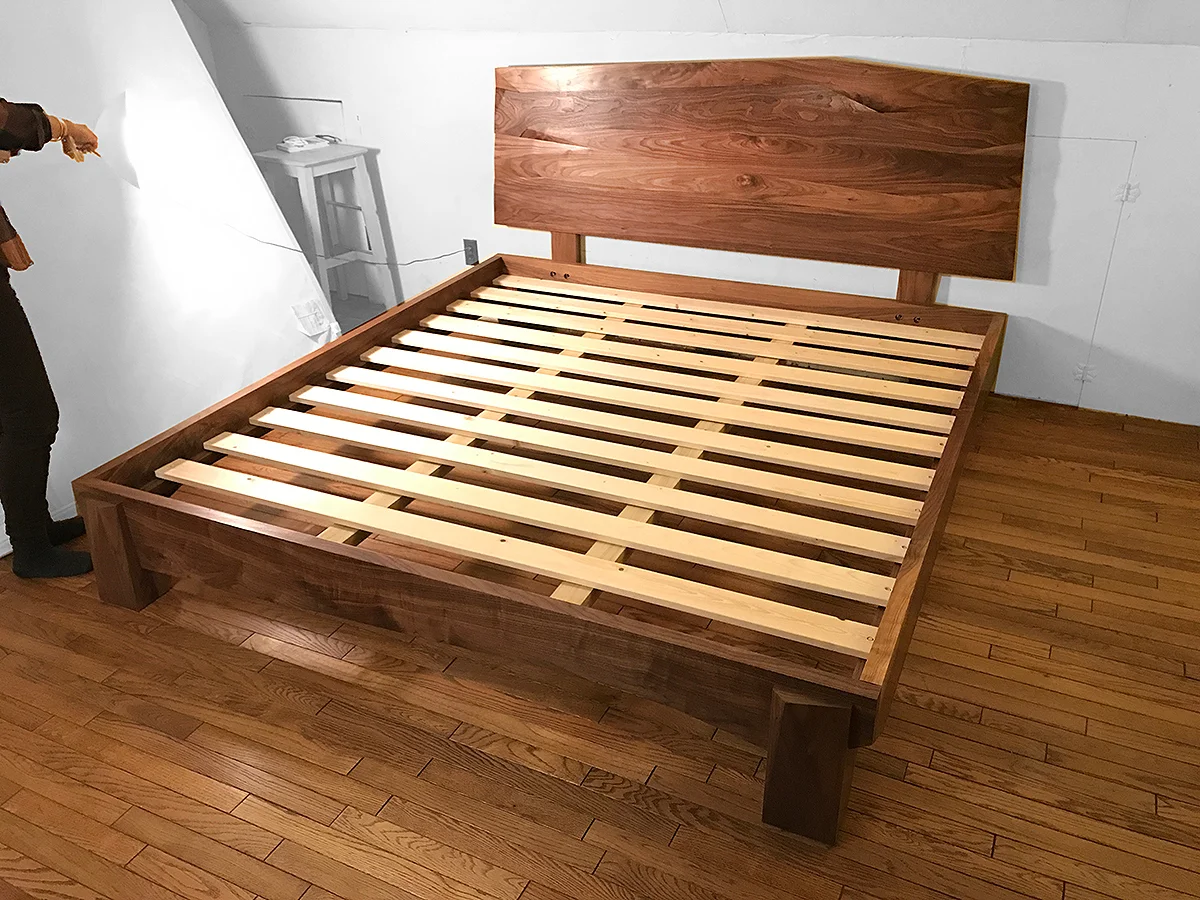
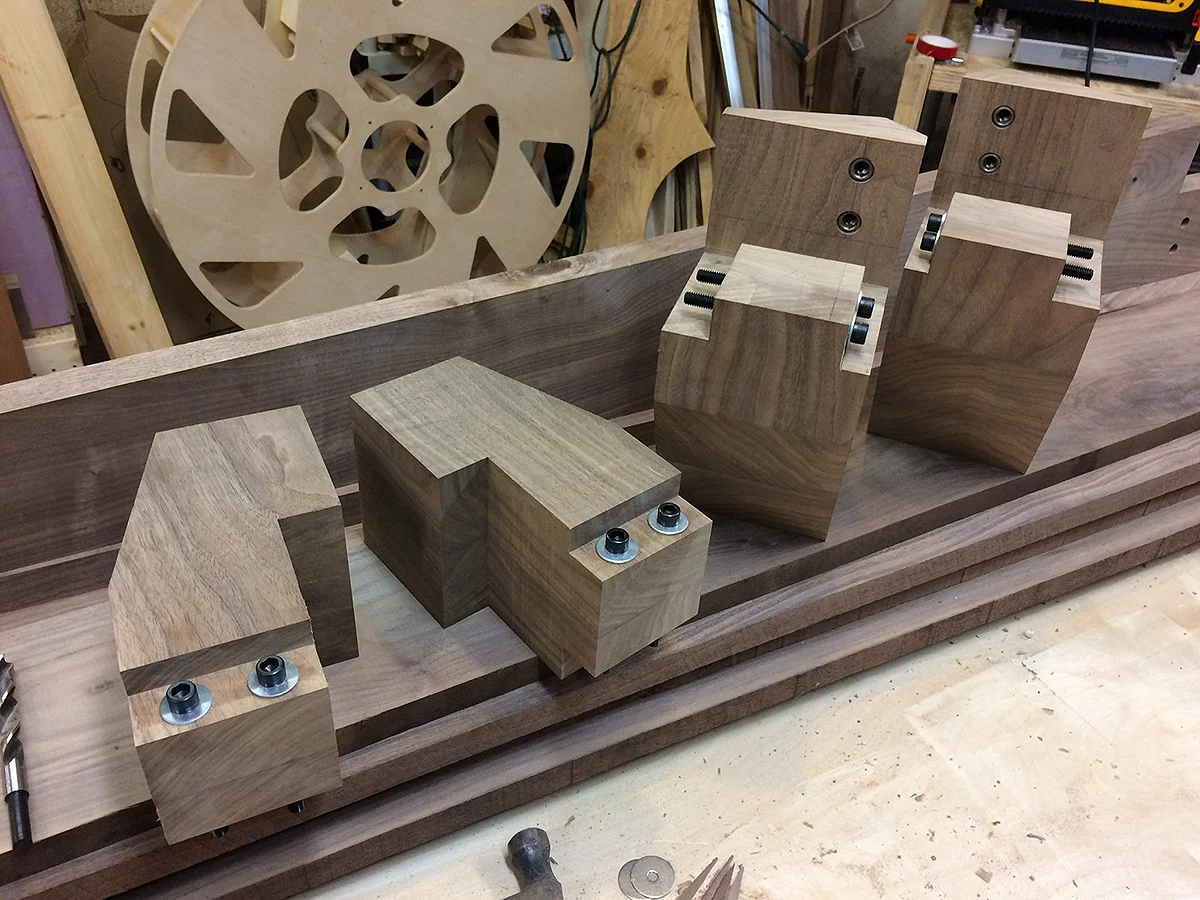
Here is a pictorial walk-through of the build process for the Facet King. The bed is carefully designed to account for wood movement and the assembly bolts all sit in slightly oversized holes to allow for any seasonal stresses. 

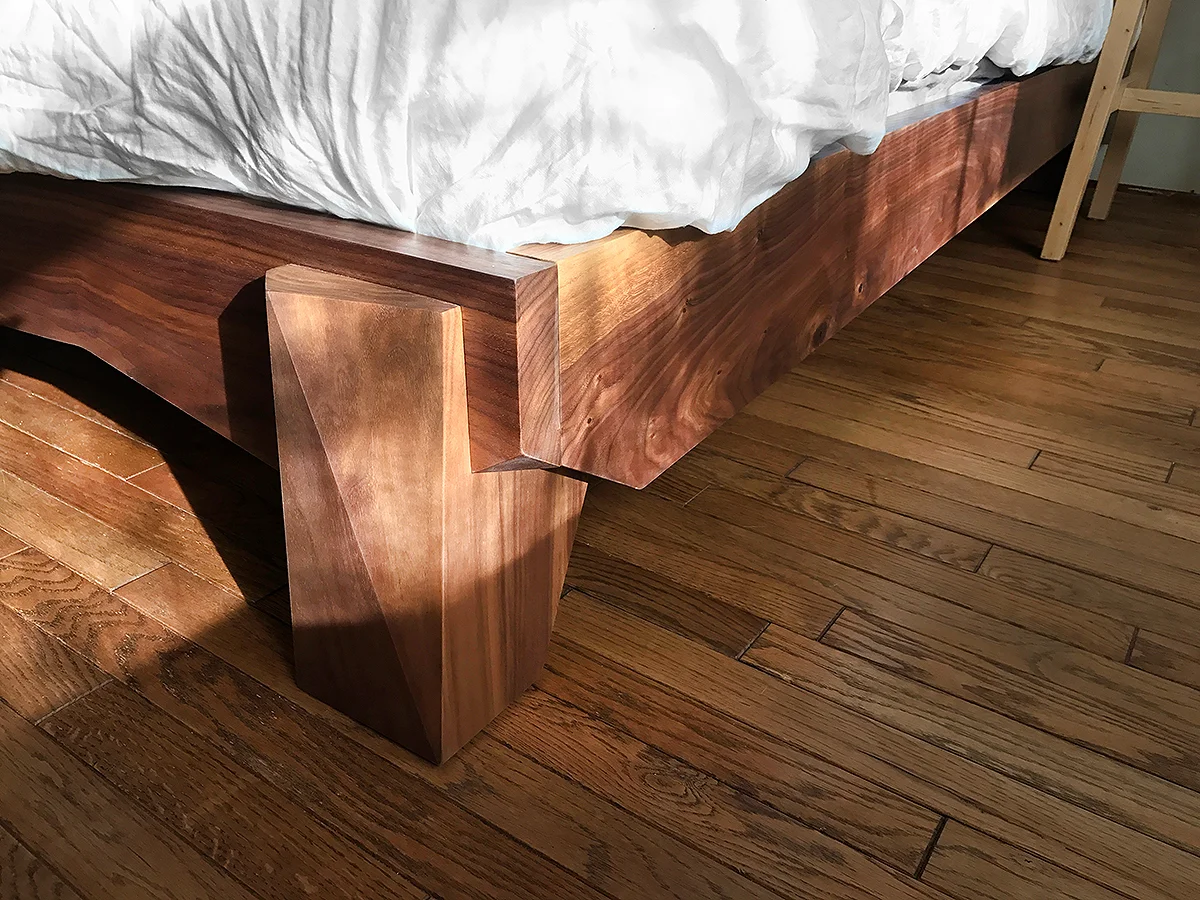
Each rail is unique and asymmetrical. The foot rail sits in deep dadoes and the side and head rails are supported by large rabbets in the legs. The legs are faceted solid blocks of walnut made from glueing up 12/4 stock.

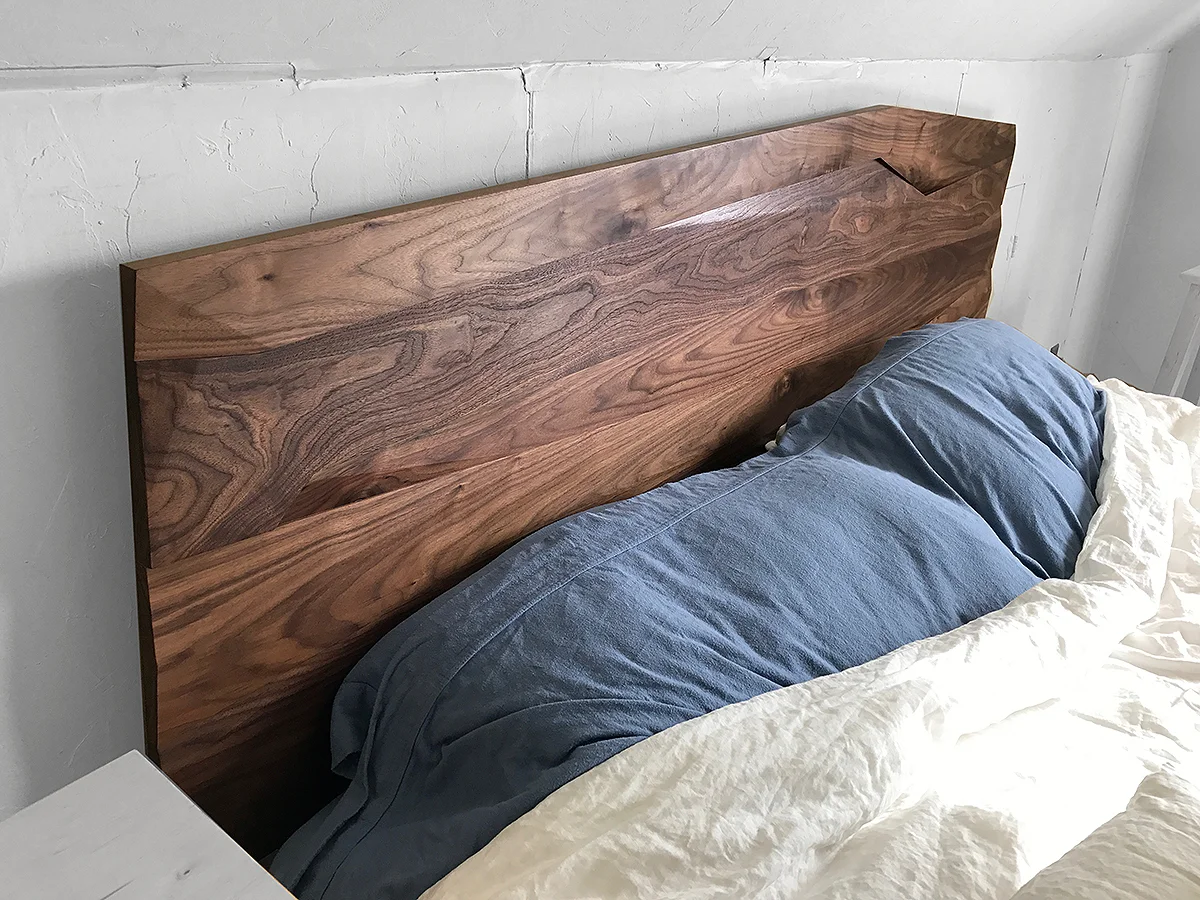
The headboard is a panel glue-up of 5 separate boards, all cut into distinct shapes, and faceted and fine tuned with hand planes. I used biscuits to ensure proper alignment of this complex assembly. The 2 headboard supports are bolted into the head rail and are slotted to allow height adjustment of the headboard.

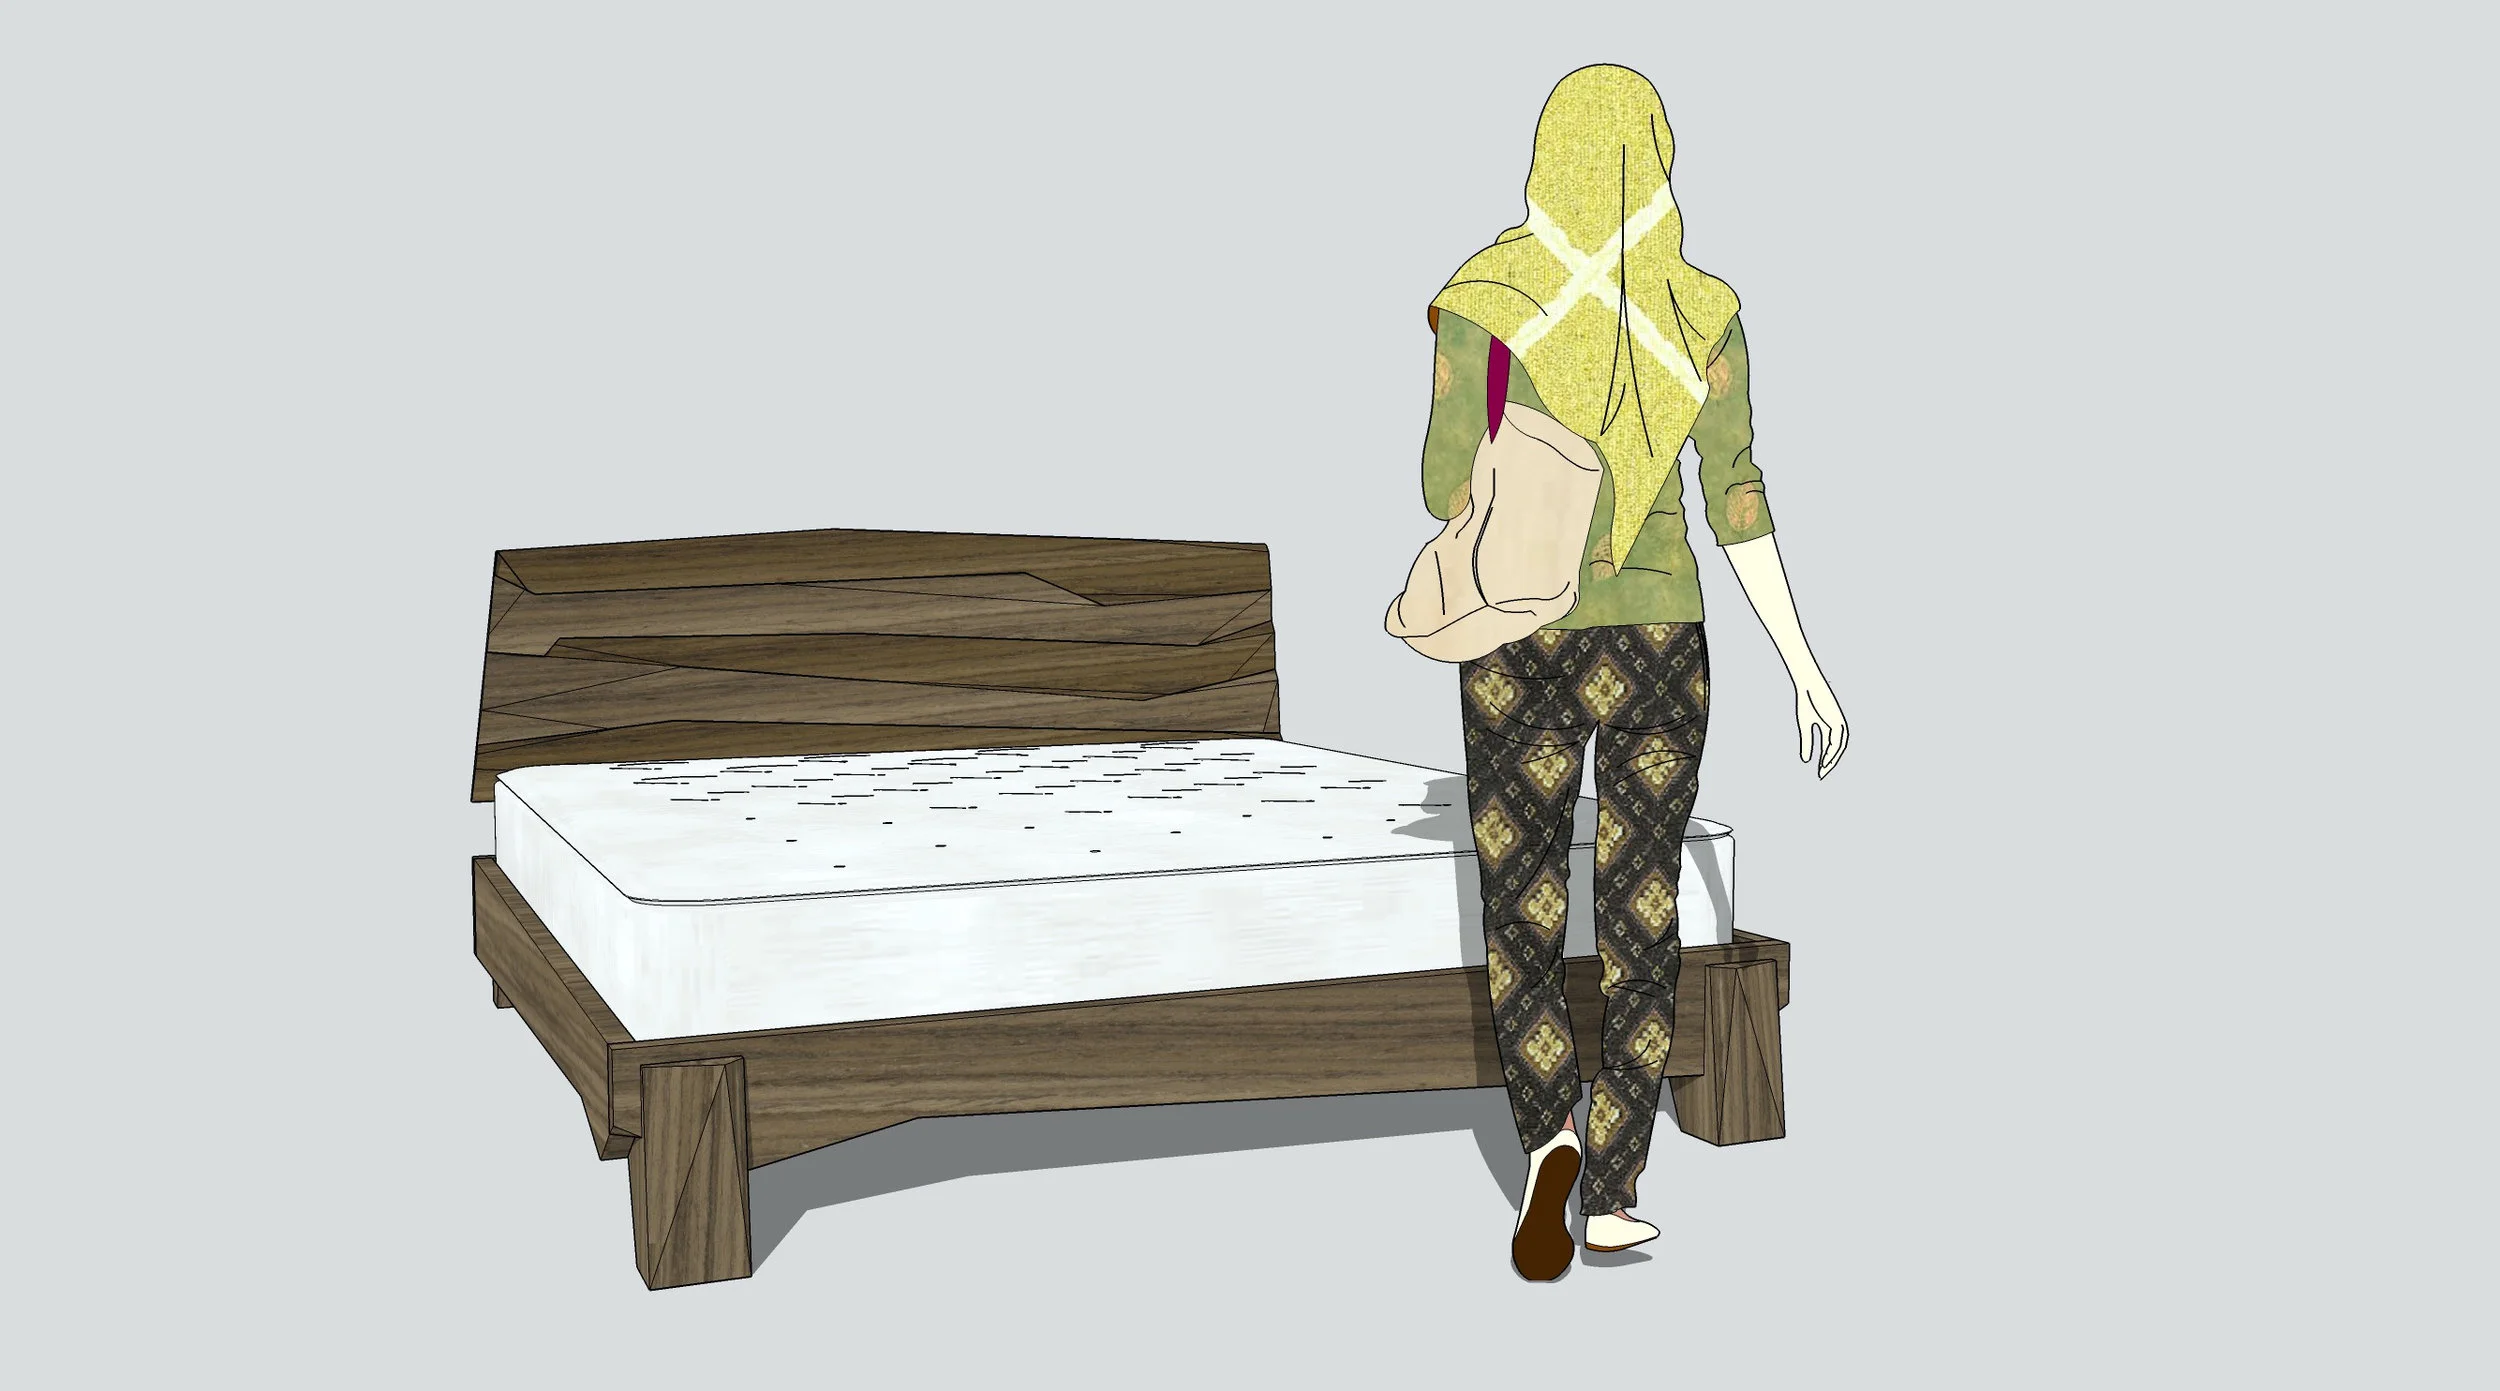
This frame comes apart with only 8 bolts but is rock solid when assembled. I call it the Facet King but it could just as easily be a queen or full-sized bed. I plan on designing some matching bedside tables in the near future.

I hope you enjoy this glimpse into the process of building it. 

Saturday 01.07.17
Posted by Kitundu
Comments: 1
 

The Facet King

IMG_0029.JPG

Kitundu is just finishing up a commission for a king bed frame and headboard.

This original design features faceted legs and asymmetric sides informed by movement of the wood grain. The headboard is a signature piece with subtle bevels and facets. The bed comes apart with only 8 bolts but is rock solid when assembled.

Take a fly through in the video below.

Send inquiries to info@iramba.org

Monday 10.24.16
Posted by Kitundu
Comments: 1
 

KITUNDU STUDIO LLC

INFO@KITUNDUSTUDIO.COM TEL. 1 (224) 788-7814